
honeywell th4210u2002 installation manual
Download the Honeywell TH4210U2002 installation manual for easy-to-follow instructions and seamless setup. Get your Honeywell thermostat up and running today!
Welcome to the Honeywell TH4210U2002 Installation Manual‚ your comprehensive guide for installing‚ configuring‚ and maintaining your programmable thermostat. This manual ensures optimal performance and efficiency for your HVAC system.
Pre-Installation Steps
Before starting‚ ensure the system is compatible and power is turned off at the breaker. Verify all components are included in the package for a smooth setup.
Understanding the Package Contents
The Honeywell TH4210U2002 package includes the T4 Pro thermostat‚ UWP mounting system‚ junction box adapter‚ decorative cover plate‚ screws‚ anchors‚ 2 AA batteries‚ and installation instructions. Verify all items are present before starting. The UWP mounting system simplifies installation‚ while the cover plate enhances the thermostat’s appearance. Ensure no components are missing to avoid delays. This comprehensive package ensures a seamless and efficient installation process for your programmable thermostat.
Checking System Compatibility
Before installation‚ ensure the Honeywell TH4210U2002 is compatible with your HVAC system. It operates on 20-30 VAC‚ supporting heating‚ cooling‚ and heat pumps. Verify the system’s voltage‚ amperage‚ and frequency ratings match the thermostat’s specifications. Check wiring compatibility and ensure the HVAC system supports programmable thermostat features. Proper compatibility ensures safe and efficient operation‚ avoiding potential installation issues or system malfunctions. Refer to the user manual for detailed specifications and requirements. This step is crucial for a smooth setup and optimal performance.
Mmounting the Thermostat
Mounting the Honeywell TH4210U2002 involves using the UWP system for secure wall installation. Ensure the thermostat is level and properly aligned for accurate operation and aesthetics.
Using the UWP Mounting System
Mounting the Honeywell TH4210U2002 using the UWP system ensures a secure and level installation. Turn off power at the breaker before starting. Open the package and locate the UWP (Universal Wall Plate). Position the UWP on the wall‚ ensuring it is level and properly aligned. Use the provided screws and anchors to secure the UWP firmly. Once installed‚ attach the thermostat to the UWP‚ ensuring a snug fit for proper functionality and display accuracy.
Optional Cover Plate Installation
The optional cover plate is ideal for concealing paint gaps or when mounting directly to an electrical junction box. Separate the Junction Box Adapter from the cover plate before installation. Align the adapter with the junction box and secure it using the provided screws. Once the adapter is in place‚ attach the cover plate to ensure a seamless appearance. This step is optional but recommended for a polished finish‚ especially when replacing an older thermostat.
Leveling the Thermostat
Proper leveling ensures the thermostat functions accurately and maintains a professional appearance. Use a spirit level to verify the UWP mounting system is straight. If necessary‚ adjust the mounting plate slightly until it is perfectly horizontal. Once leveled‚ secure the thermostat to the wall using the provided screws. Proper alignment guarantees precise temperature control and prevents any operational issues. Always refer to the UWP installation guide for additional leveling instructions if needed.
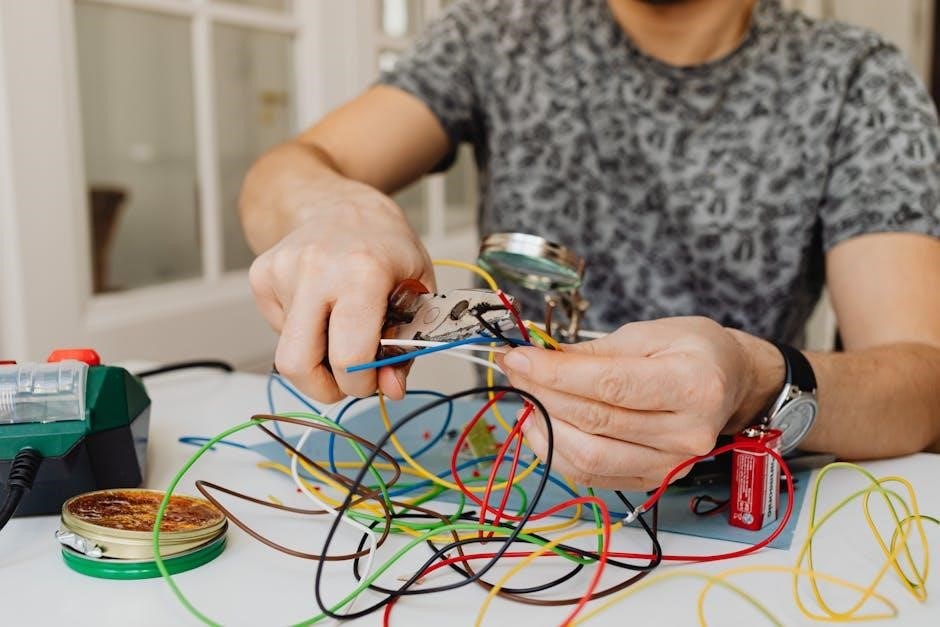
Wiring and Connections
The Honeywell TH4210U2002 requires precise wiring to ensure proper functionality. Always refer to the wiring diagram in the manual and connect wires according to their color coding.
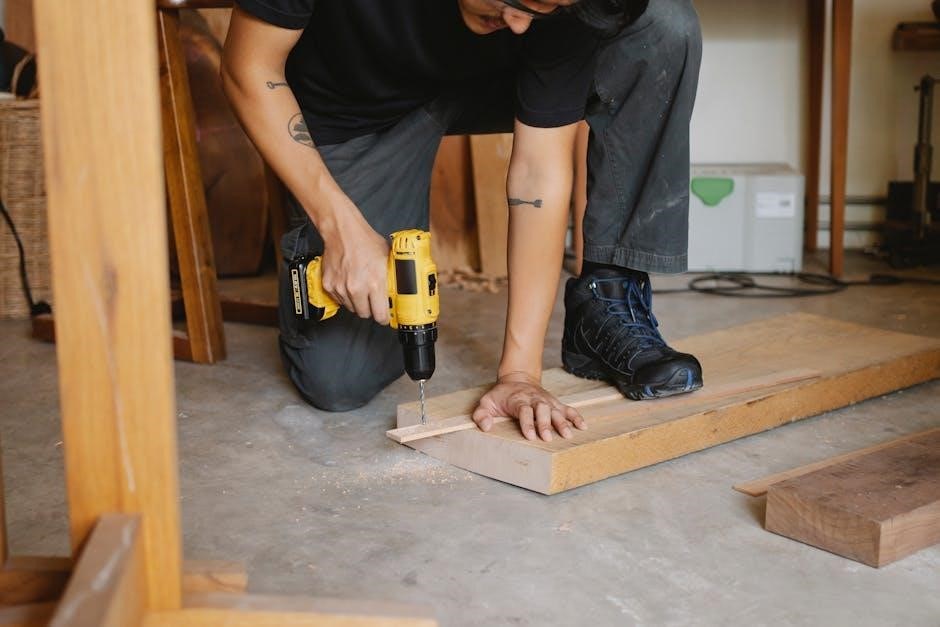
Required Tools and Materials
Required tools: screwdriver‚ level‚ and drill with bits. Materials included: UWP Mounting System‚ Junction Box Adapter‚ Decorative Cover Plate‚ screws‚ anchors‚ and 2 AA batteries. Ensure power is off at the breaker before starting. Refer to the manual for detailed instructions and safety guidelines to ensure a successful installation. Additional materials may be needed based on specific installation requirements. Always follow the manufacturer’s recommendations for tools and materials.
Wiring Diagram and Color Coding
Refer to the wiring diagram in the manual for precise connections. The color coding system includes: R (24V power)‚ W (heating)‚ Y (cooling)‚ G (fan)‚ and C (common). Ensure correct wire connections to avoid system malfunctions. Turn off power at the breaker before wiring. Follow the diagram carefully to match terminals on the thermostat with your HVAC system. If unsure‚ consult additional resources or seek professional assistance for accurate installation. Proper wiring ensures safe and efficient operation of your Honeywell thermostat.
Connecting to the HVAC System
Ensure the HVAC system is turned off before connecting the thermostat. Match the wires from the HVAC system to the thermostat terminals using the wiring diagram. Securely connect each wire to the correct terminal‚ ensuring no loose connections. After wiring‚ turn the power back on and test the system to confirm proper operation. If issues arise‚ refer to the troubleshooting section or consult a professional for assistance. Proper connection ensures reliable HVAC performance and thermostat functionality.
Configuring the Thermostat
Configure your Honeywell TH4210U2002 thermostat by following the initial setup guide. Program your desired temperature schedule and adjust screen brightness for optimal comfort and convenience. Refer to the user manual for detailed steps.
Initial Setup and Programming
Start by turning off power at the breaker box. Remove the thermostat from the UWP mount‚ insert two AA batteries‚ and reattach it. Follow the on-screen prompts to set the time‚ date‚ and preferred temperature units. Choose your HVAC system type and configure the programmable schedule. Save your settings to complete the initial setup. Refer to the user manual for detailed steps to ensure proper configuration and operation of your Honeywell TH4210U2002 thermostat.
Setting Up the Programmable Schedule
Access the menu to create a temperature schedule that fits your daily routine. Set up to four temperature periods per day‚ adjusting the time and desired temperature for each. Program different schedules for weekdays and weekends if needed. Once configured‚ save your settings to ensure the thermostat follows your preferred temperature plan. This feature helps optimize energy usage and maintain comfort throughout the day.
Adjusting Screen Brightness and Settings
Navigate to the thermostat’s menu to adjust screen brightness and other display settings. The backlight stays lit for 8 seconds after interaction or continuously if wired. Use the brightness setting to customize visibility. Lower brightness extends battery life. Access additional display options like auto-dim or screen timeout for energy efficiency. Adjustments ensure optimal screen visibility while conserving power‚ tailored to your preference and system setup.
Troubleshooting Common Issues
Troubleshoot issues like a blank screen‚ fan running without airflow‚ or accidental locks. Refer to the manual for solutions‚ such as resetting the thermostat or checking wirings.

Resolving Power-Related Problems
Address power issues promptly to ensure uninterrupted thermostat operation. If the screen is blank or unresponsive‚ check battery levels. Low batteries trigger a BATT alert and disable the backlight. Replace batteries when the battery icon appears. For critical power loss‚ only the BATT alert and battery icon remain visible. Ensure batteries are fresh and correctly installed. If issues persist‚ verify wiring connections and consult the manual for advanced troubleshooting steps.
Fixing Connectivity and Display Issues
Experience issues with the thermostat’s screen or connectivity? Start by ensuring the device has power. A blank screen may indicate low batteries or wiring problems. Check connections and ensure wires are securely attached. If the screen remains unresponsive‚ perform a factory reset by removing batteries for 10 seconds. For display issues‚ adjust screen brightness settings or verify if the backlight is enabled. Consult the manual for detailed troubleshooting steps to restore functionality quickly.
Maintenance and Upkeep
Regular maintenance ensures optimal performance and extends the lifespan of your Honeywell TH4210U2002 thermostat. Clean the screen gently and replace batteries annually to maintain functionality and reliability.
Replacing Batteries
To ensure uninterrupted operation‚ replace the batteries when the BATT icon appears on the screen. Turn off power at the breaker‚ remove the old batteries‚ and insert two new AA batteries. The thermostat retains its programming during replacement. Always use fresh batteries to maintain functionality and avoid display issues. Regular battery checks prevent low-power alerts and ensure consistent performance of your Honeywell TH4210U2002 thermostat.
Cleaning the Thermostat Screen
Regularly clean the Honeywell TH4210U2002 thermostat screen to ensure optimal visibility and functionality. Use a soft‚ dry cloth to wipe away dirt or smudges. For tougher stains‚ lightly dampen the cloth with water‚ but avoid harsh chemicals or abrasive materials. Turn off the thermostat before cleaning to prevent damage. This simple maintenance step keeps the display clear and ensures accurate temperature reading and smooth operation of your programmable thermostat.
Safety Considerations
Ensure power is off at the breaker before installation or maintenance. Avoid over-tightening wires to prevent damage. Follow all safety guidelines to prevent electrical hazards and ensure proper functionality of your Honeywell thermostat.
Power Safety Precautions
Always turn off power at the breaker box before starting installation or maintenance to prevent electrical shocks or damage. Avoid over-tightening wires‚ as this can cause irreversible harm to the thermostat or HVAC system. Never attempt repairs without proper tools and knowledge. Failure to follow these precautions may result in system malfunctions or electrical hazards‚ compromising both safety and performance of your Honeywell thermostat.
Electrical Installation Guidelines
Follow these steps to ensure a safe and proper electrical installation. First‚ turn off power at the circuit breaker or fuse box to avoid electrical shocks. Verify the system voltage matches the thermostat’s rating (20-30 VAC). Use the provided wiring diagram to connect wires correctly‚ ensuring secure connections without over-tightening. If using a common wire‚ connect it to the “C” terminal. For battery-powered models‚ insert 2 AA batteries. Finally‚ restore power and test the thermostat to confirm proper operation.
Additional Resources
Access the Honeywell TH4210U2002 user manual and installation guide online for detailed instructions. Visit Honeywell’s official website for troubleshooting tips and customer support contact information.
Accessing the User Manual
The Honeywell TH4210U2002 user manual is available for download on Honeywell’s official website. This 10-page guide provides detailed installation‚ programming‚ and troubleshooting instructions. It covers everything from initial setup to advanced features‚ ensuring seamless operation of your thermostat. Additionally‚ the manual includes wiring diagrams‚ maintenance tips‚ and contact information for customer support. Visit Honeywell’s website to access this essential resource and maximize your thermostat’s performance.
Honeywell Customer Support
Honeywell offers comprehensive support for the TH4210U2002 thermostat. Visit their official website for 24/7 assistance‚ including FAQs‚ troubleshooting guides‚ and downloadable resources. You can also contact their customer service team directly for personalized help with installation‚ programming‚ or maintenance. Additionally‚ Honeywell provides online forums and community support where users can share experiences and solutions‚ ensuring you have the help you need to optimize your thermostat’s performance.
Online Forums and Community Help
Engage with Honeywell’s online forums and community resources for peer-to-peer support and shared experiences. These platforms offer valuable insights and solutions from experienced users and technicians. Discuss installation challenges‚ troubleshooting tips‚ and optimization strategies. Many users have found help with issues like password recovery‚ display problems‚ and wiring configurations. The community is a great supplement to the manual‚ providing real-world advice to enhance your thermostat’s performance and resolve issues quickly.